Cable Management Tips for a Clean Gaming Setup
Let’s be honest — we’ve all been there. That moment when your mouse cable gets snagged mid-match, or when you look under your desk and it resembles a snake pit. Whether you’re a casual gamer or a streaming enthusiast, there’s nothing quite as satisfying as a clean, organised space. And that all starts with one often-overlooked detail: cable management.
A tidy setup isn’t just about looks. It improves airflow, protects your gear, and helps maintain focus. More importantly, it transforms your desk into a space that’s a joy to use, day in and day out.
In this guide, you’ll discover practical, down-to-earth cable management tips to turn your cluttered battlestation into a tidy gaming station worthy of Reddit fame. We’ll cover everything from simple tricks to pro-level accessories so you can create a cable management gaming desk setup that’s both stylish and functional.
The Real Impact of a Cluttered Setup

It’s More Than Just Messy Wires
You might think, “Out of sight, out of mind,” but messy cables can cause more problems than you realise.
- Overheating risks: Poor airflow due to tangled cables can increase heat buildup.
- Signal interference: Power and data cables bunched together can cause latency or static.
- Tripping hazards: Stray wires on the floor are an accident waiting to happen.
- Aesthetic eyesore: All that RGB gear loses its charm when it’s drowning in clutter.
Taking the time to manage your cables properly not only protects your investment but also enhances your everyday experience.
Planning Your Setup: Start with a Vision
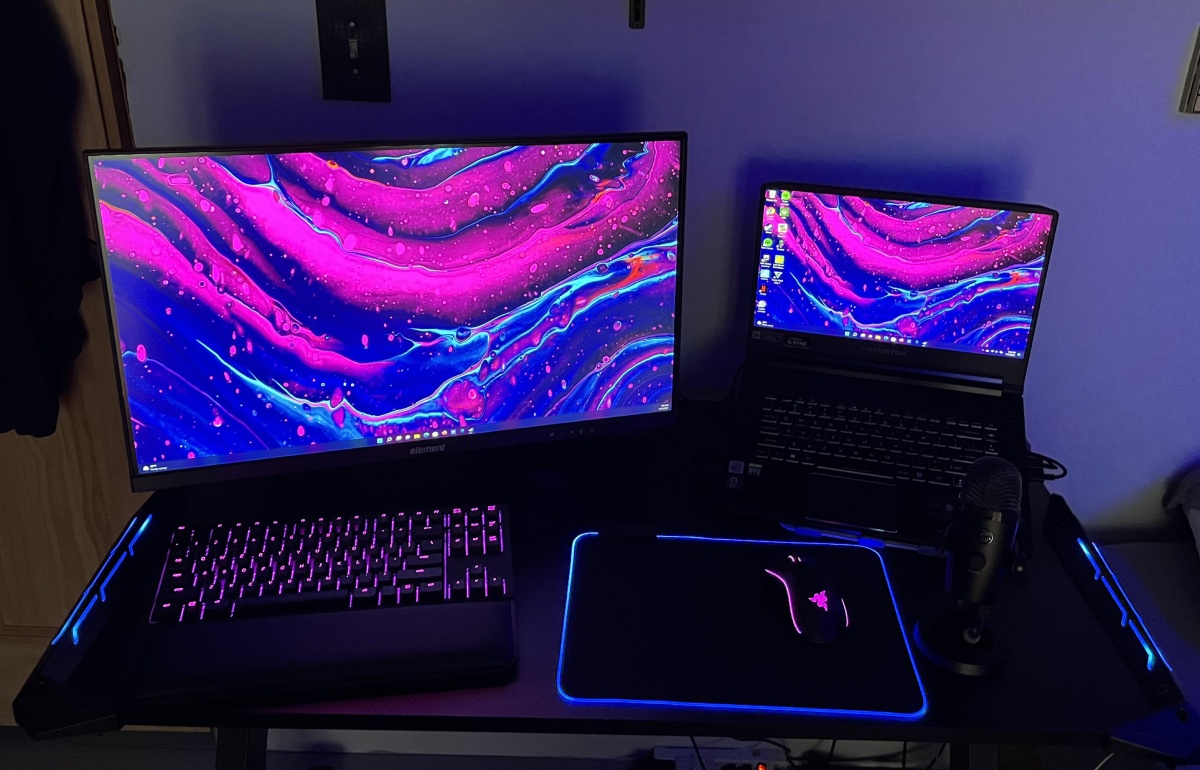
Think Before You Plug
Before reaching for the cable ties, take a moment to plan. Like any good build, a clean setup begins with proper layout.
- Assess your gear: What needs power? What connects where?
- Sketch a layout: Mark monitor positions, PC placement, and key accessories.
- Measure cable lengths: Knowing what you have (and what you need) avoids over- or under-reach disasters.
Pro tip: Place your power strip or surge protector as centrally as possible under your desk. This minimises the distance each cable needs to travel.
Must-Have Tools for Cable Management
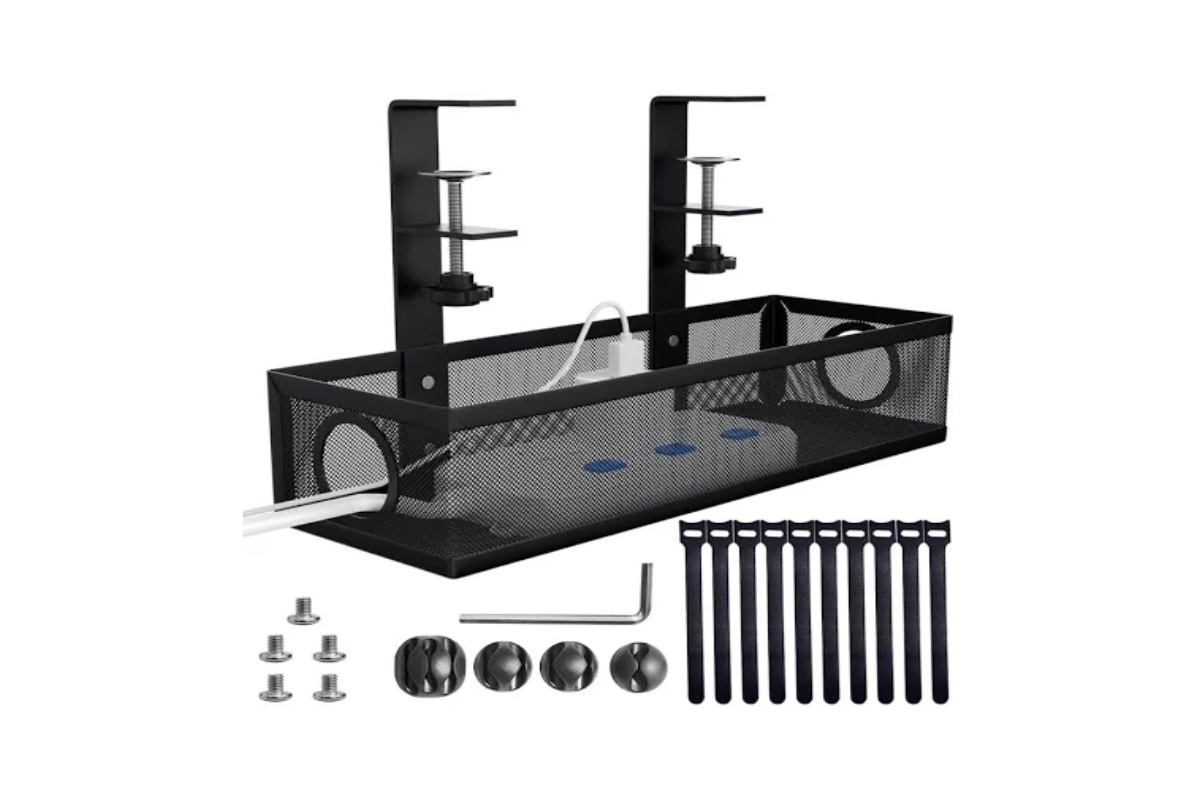
You don’t need to spend a fortune. A few smart buys — or even household items — can make a world of difference.
Basic Essentials:
- Velcro cable ties: Reusable, adjustable, and kinder to cables than zip ties
- Cable clips: Stick to the back or underside of your desk to route cables neatly
- Cable sleeves or tubing: Bundle cables together for a cleaner aesthetic
- Under-desk trays: Hold power bricks and excess wire slack out of sight
- Adhesive hooks: Perfect for heavier cables or routing behind furniture
- Cable management boxes: Encase your power strip and bundle of cables in one neat unit
Start small — even a handful of Velcro ties can make a massive visual impact.
Step-by-Step Guide to a Tidy Gaming Station
Step 1: Unplug and Declutter
Begin by removing all cables—yes, all of them. This will give you a clean slate and let you sort out what you really need.
- Label each cable if you tend to forget what connects where
- Dust and clean surfaces before remounting
Step 2: Group by Function
Sort your cables into categories:
- Power cables
- Display cables (HDMI, DisplayPort)
- Peripheral cables (keyboard, mouse, headset)
- Network cables
Bundling similar types together makes routing easier and future upgrades smoother.
Step 3: Route Strategically
Decide how each cable will travel from the device to the power or I/O. Use the shortest, cleanest route possible — ideally behind or under the desk.
- Use adhesive clips to hold cables against surfaces
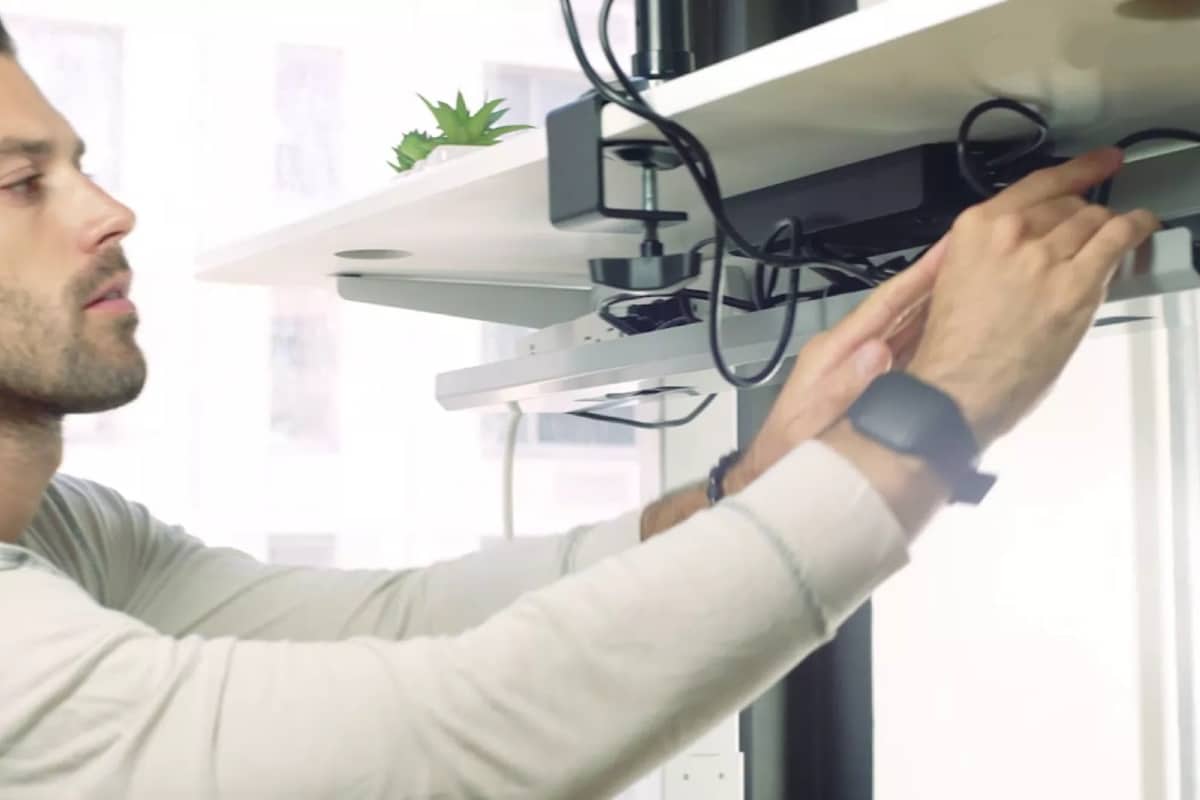
- Mount surge protectors underneath using double-sided tape or screws
- Route cables along desk legs or wall edges using cable sleeves
Step 4: Hide the Excess
Nobody wants to see coils of unused wire. Use under-desk trays or tuck slack into cable boxes or behind furniture. Coil the extra length and secure it with Velcro or twist ties.
Step 5: Label for Easy Maintenance
If your setup is complex, label each end of your cables. It’s a time-saver when swapping gear or troubleshooting.
Floating Desks and Hidden Channels: Next-Level Clean Setup Tips
Looking to take things up a notch? These advanced methods are ideal for serious enthusiasts.
Use Cable Raceways
Cable raceways are slim, paintable channels that mount to walls or desks, perfect for routing wires invisibly. You can run HDMI cables, Ethernet cords, or USB hubs through them for that ultra-clean finish.
Go Wireless (Where Practical)
Consider reducing the number of cables entirely:
- Wireless keyboard and mouse
- Bluetooth headsets
- Wi-Fi instead of Ethernet (if gaming performance isn’t compromised)
While not suitable for every situation, it can significantly cut down clutter.
Desk Grommets and Drill-Throughs
If you’re handy with tools, install grommets (those plastic circles you see in office desks) for a direct path through your desktop. Run monitor or peripheral cables straight through the desk for a stealthy look.
Real-World Examples: Setup Transformations
Jason’s Streaming Nook – Bristol
Jason had everything from a boom mic to a stream deck and multiple monitors. His cables were everywhere. By mounting his surge protector under the desk and using a mesh tray for USB hubs, he regained full desk space and eliminated trip hazards.
Before: Cable jungle.
After: Studio-worthy desk with no visible wires
Priya’s Dual-Purpose Setup – Edinburgh
Priya uses her desk for both gaming and remote work. She added stick-on clips to hold charging cables in place and used a simple IKEA cable organiser tray to keep everything off the floor.
Highlight: Her mouse never tangles with her phone charger anymore.
Maintenance Tips: Keep It Clean Long-Term
A clean setup is a moving target. Your gear changes, your needs evolve. Here’s how to stay on top of it:
- Check monthly: Make sure clips are holding and ties haven’t loosened
- Rewrap loose ends when moving peripherals
- Dust regularly to prevent buildup around power sources
- Upgrade cables over time — longer doesn’t always mean better
Consistency is key. Once you’ve got a system, upkeep becomes second nature.
Mistakes to Avoid
Even with good intentions, cable management can go sideways. Watch out for these pitfalls:
- Over-tightening: Zip ties too tight can damage cables or cause signal degradation.
- Blocking airflow: Don’t route cables over fans or vents.
- Poor access: Don’t tuck things so well that you can’t reach them when needed.
- Ignoring cable quality: Cheap cables often fray faster or don’t perform well — invest in quality where it matters.
Budget vs Premium: What’s Worth Paying For?
Not all accessories need to break the bank. Here’s where to splurge — and where to save.
Worth paying for:
- High-quality surge protector
- Adjustable cable trays (especially for heavier power bricks)
- Magnetic or screw-in mounts for reliability
Where to save:
- Velcro ties (buy in bulk)
- Adhesive clips
- DIY tubing (split loom tubing from any hardware store works wonders)
Final Thoughts: Function Meets Form
Cable management may not be the flashiest part of building your gaming setup, but it’s one of the most transformative. A clean, tidy workspace boosts your focus, protects your equipment, and simply makes everything feel more polished.
Whether you’re just tidying up a few loose cords or going all-in with trays, sleeves, and wall channels, every little improvement adds up. You’ll not only enjoy a neater space but also a more efficient and enjoyable gaming experience.
