How to Upgrade Your Gaming PC Cooling Without Breaking the Bank
Gaming PCs are performance powerhouses — and with great power comes great heat. Whether you’re deep into a high-intensity battle royale or pushing ultra graphics settings, your components are working hard, and they get hot. If not cooled properly, rising temperatures can impact gameplay, stability, and the longevity of your system.
But here’s the good news: Effective cooling upgrades don’t have to break the bank. With a few strategic, budget-friendly improvements, you can keep your rig running cool, stable, and quiet. This guide walks you through affordable PC cooling tips, upgrades, and maintenance hacks that deliver big impact for a small investment.
Why Gaming PC Cooling Really Matters
Overheating is more than a nuisance — it directly affects your system’s performance and lifespan. Here’s why proper cooling is essential:
- Reduced Performance (Thermal Throttling): When CPUs or GPUs get too hot, they automatically slow down to prevent damage. This results in lower frame rates and inconsistent gameplay.
- Component Degradation: Prolonged exposure to high temperatures shortens the lifespan of parts like the CPU, GPU, VRMs, and SSDs.
- System Instability: Overheating can cause crashes, blue screens, and even hardware failure over time.
Keeping your gaming rig cool means smoother gaming, quieter operation, and longer-lasting hardware — all without having to invest in premium liquid-cooling systems.
Cooling Basics: Air vs Liquid
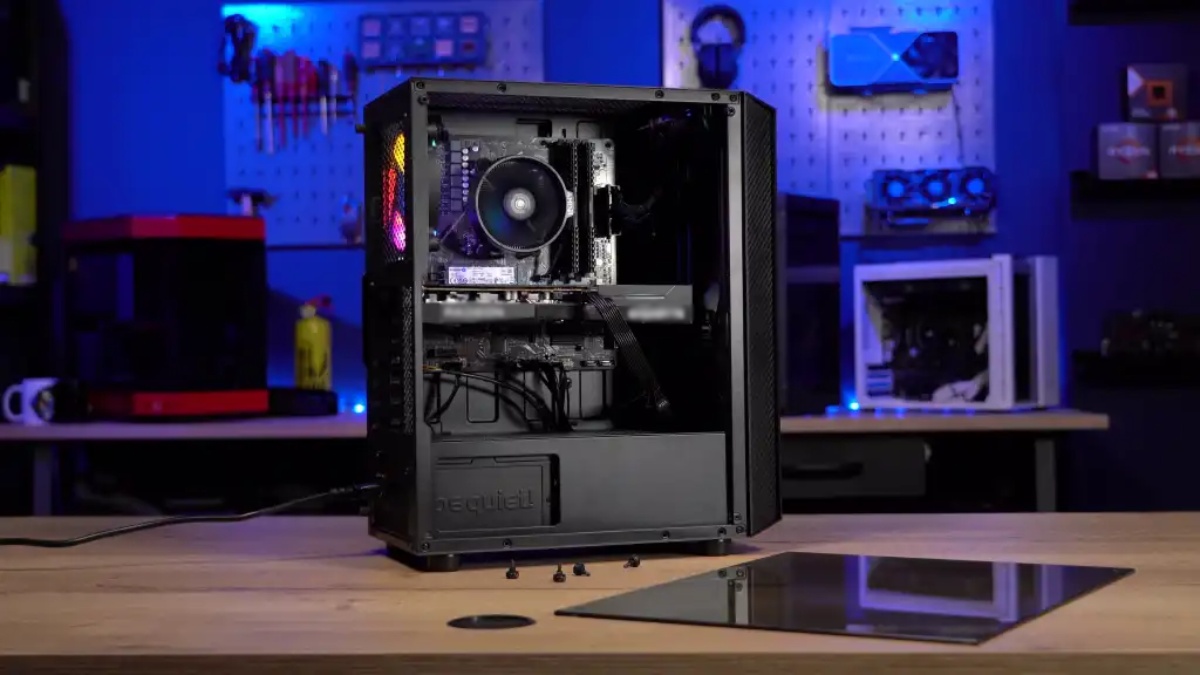
There are two primary cooling methods:
- Air Cooling: Uses fans and heatsinks to push hot air away from components and out of the case. It’s budget-friendly and effective for most users.
- Liquid Cooling: Uses liquid-filled radiators to dissipate heat more efficiently, but comes with higher costs and complexity.
For budget-conscious gamers, air cooling remains the best bang-for-buck solution, especially when paired with solid airflow and thermal management.
Quick Checklist: Affordable Cooling Upgrades
Here’s what to prioritise when upgrading on a budget:
- Clean your PC to remove dust and debris
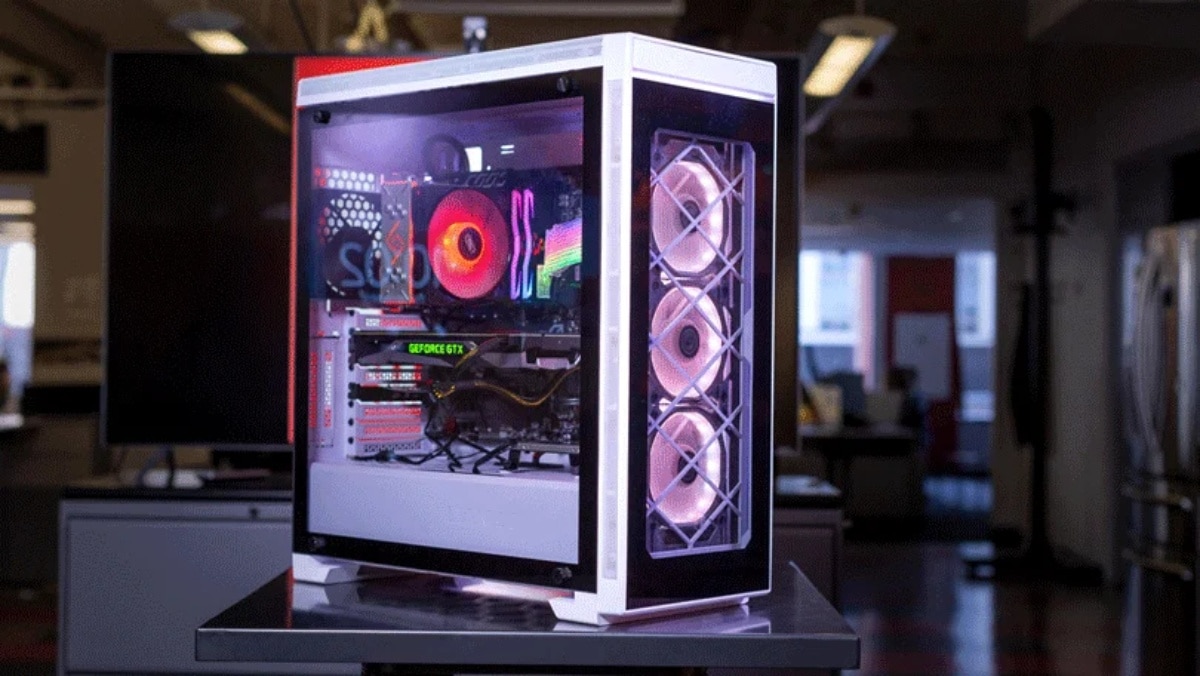
- Upgrade or add case fans (intake + exhaust)
- Improve cable management and internal airflow
- Replace the stock thermal paste on your CPU
- Use a budget-friendly aftermarket air cooler
- Ensure your PC is placed in a cool, open space
Each of these changes can drastically lower temperatures and improve system performance without requiring major spending.
Step-by-Step Guide to Budget Cooling Upgrades
Step 1: Clean Your PC
The easiest and most overlooked fix: dust removal. Dust buildup restricts airflow, insulates heat, and forces fans to work harder.
- Use compressed air to clean fans, heatsinks, filters, and vents.
- Avoid using a vacuum inside the case — static electricity can damage components.
- Clean your PC every 2–3 months for best results.
Pro Tip: Don’t forget the power supply, which often has its own internal fan that accumulates dust over time.
Step 2: Upgrade Case Fans
Stock fans that come with your case are often underpowered or poorly positioned.
- Add more intake fans (usually front-mounted) to pull in cool air.
- Use exhaust fans (rear or top-mounted) to push hot air out.
- Aim for a balance: one or two intake fans and at least one exhaust fan.
Look for 120mm or 140mm fans with high CFM (cubic feet per minute) ratings—this measures how much air they move. Models from Arctic, Cooler Master, and Noctua offer excellent performance for under £20.
Step 3: Optimise Airflow Inside the Case
Bad internal layout can trap heat. Tidy up your internal components to create unobstructed airflow.
- Cable management is key. Use zip ties or Velcro straps to route cables behind the motherboard tray.
- Avoid obstructing airflow paths with bulky drives or GPU brackets.
- Use a mesh-front case if possible — it improves intake airflow significantly compared to solid front panels.
Pro Tip: Modular power supplies reduce clutter by allowing you to use only the cables you need.
Step 4: Upgrade Thermal Paste
Thermal paste is a heat-transferring compound between your CPU and its cooler. Over time, it can dry out or degrade.
- Remove the old paste with isopropyl alcohol and a lint-free cloth.
- Apply a pea-sized drop of high-quality thermal paste (like Arctic MX-6 or Noctua NT-H1).
- Reattach the cooler, ensuring even pressure.
This small upgrade can reduce CPU temperatures by several degrees.
Step 5: Add an Aftermarket CPU Cooler
Most CPUs ship with a stock cooler, which is serviceable but limited in performance. An aftermarket air cooler can be a big upgrade for a modest price.
- Choose coolers with large heatsinks, multiple heat pipes, and a quiet fan.
- Good budget models include Cooler Master Hyper 212, Deepcool AK400, or be quiet! Pure Rock 2.
Bonus Tip: Before upgrading, try adjusting your fan curves and repasting the CPU — sometimes this is enough to keep temperatures under control.
Step 6: Reposition Your PC for Better Ventilation
Your case’s position in the room plays a surprising role in thermal performance.
- Avoid placing the PC in enclosed areas like cabinets or tight corners.
- Keep it off carpeted floors, especially if your case has bottom intake vents.
- Ensure at least 4–6 inches of clearance behind and around your case for proper exhaust.
Pro Tip: If you work with limited space, consider raising your PC on a stand to improve airflow and reduce dust intake.
Important: Avoid overclocking if your cooling setup is underpowered. It can push your temps past safe limits and reduce hardware longevity.
Best Practices & Additional Insights
Monitor Temperatures
Use free software like:
- HWMonitor
- Core Temp
- MSI Afterburner
Monitor CPU and GPU temperatures during gaming or stress tests to ensure your changes are working.
Fan Curve Optimisation
You can customise how fast your fans spin at different temperatures:
- Access fan curves via BIOS/UEFI settings or software like SpeedFan.
- A steeper curve will make fans ramp up quickly, useful in warmer environments.
Control Ambient Temperature
- Keep your gaming room cool and ventilated.
- Avoid blocking AC vents or placing the PC near heat sources like radiators or sunny windows.
- If possible, use a fan or window airflow to circulate cool air during long sessions.
FAQs
How can I reduce my gaming PC’s temperature without spending a lot?
Clean your PC, add a few well-placed fans, manage your cables, and upgrade thermal paste. These small tweaks can lead to major cooling improvements.
Is liquid cooling necessary?
Not unless you’re overclocking or running high-end multi-GPU setups. Budget air cooling is perfectly sufficient for most gamers.
How can I tell if my cooling is inadequate?
If your CPU or GPU regularly hits 80°C+ during gaming, or if you experience crashes or thermal throttling, it’s time to upgrade your cooling setup.
What’s the best cooling upgrade under £30?
A quality 120mm case fan or a tube of premium thermal paste. Both provide significant benefits at a low cost.
Conclusion: Upgrade Your Gaming PC Cooling Without Breaking the Bank
You don’t need a premium AIO cooler or a case full of RGB to keep your gaming PC cool. With thoughtful maintenance, strategic upgrades, and a focus on airflow, even the most budget-conscious gamer can optimise their thermal performance. The result? A cooler, faster, and more reliable gaming experience.
Ready to cool smarter, not harder? Start with these upgrades and enjoy smoother sessions without burning your budget.
